How to dye paper yarn jewelry / DIY
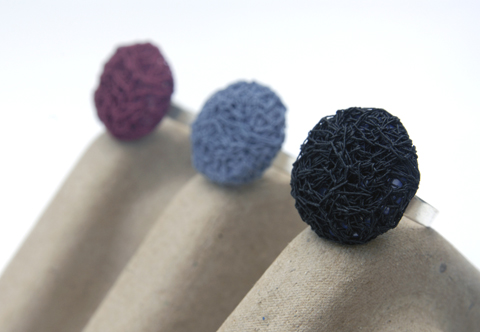
All of our “button rings” are white in the beginning and are then dyed by hand.
Our finest and medium paper yarns are available in beautiful white and natural/kraft but we completely understand that sometime a little bit more color is needed. We’ve been dyeing our paper yarn jewelry by hand for years now with little more than some dyestuff and a tiny cooking pot and today we’ll show you some tricks of the trade.
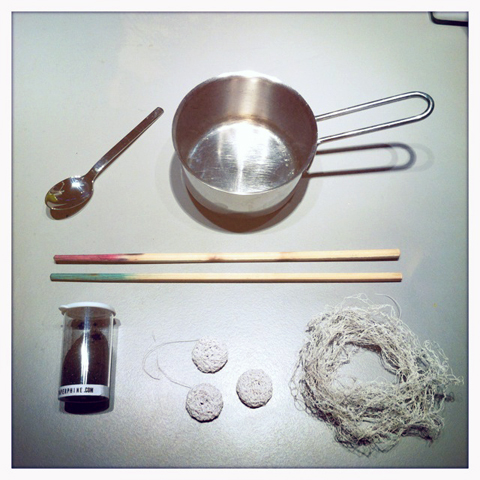
Supplies & Tools
Dye / Dyestuff: there are a lot of different brands out there also depending on where you live. We’ve been using dystuffs by Dylon, Schimek, Marabu and Simplicol and they all work well. The basic rule is that the dye has to work with cotton. Any dye that works with cotton will also work with paper because both cotton and paper yarn are made up of cellulose fibers. Read all the instructions provided with your dyestuff carefully before starting to dye because there can be slight differences between brands.
Natural dyes: we tried natural dyes but results have not always been convincing with the exception of a real indigo dye bath. One of the problems we faced was that colors of naturally dyed paper jewelry faded quite quickly when exposed to sunlight. Nevertheless we’re no experts for natural colors and it might prove very worthwhile to look into this topic and have fun with experimenting.
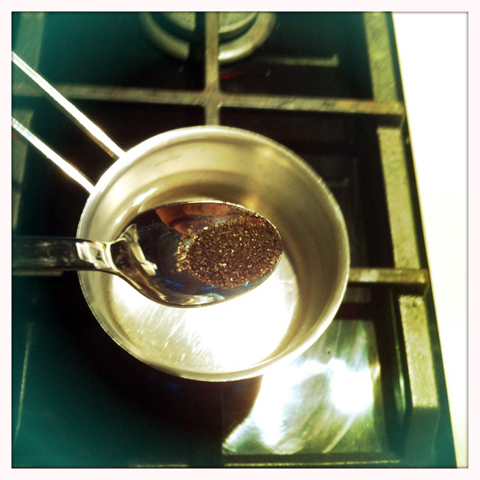
A lot of dyes work best with a warm dye bath (the instructions provided with your dye will let you know). This is where a small pot comes in very handy because most pieces of jewelry are rather small anyway. Fill the pot with enough water to later cover your pieces and dissolve a tiny bit of dye in the water. A tiny bit really means a tiny bit and you can always add in case you need more (very unlikely). Heat the dye slowly and carefully but don’t let it boil if not requested by the instructions of the brand of dye you use.
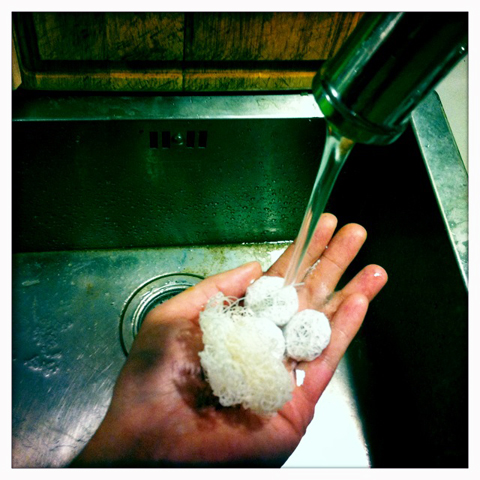
Put whatever you want to dye under the tap and get it thoroughly wet. This will help to spread the dye more evenly and faster when you add your jewelry/things to dye bath.
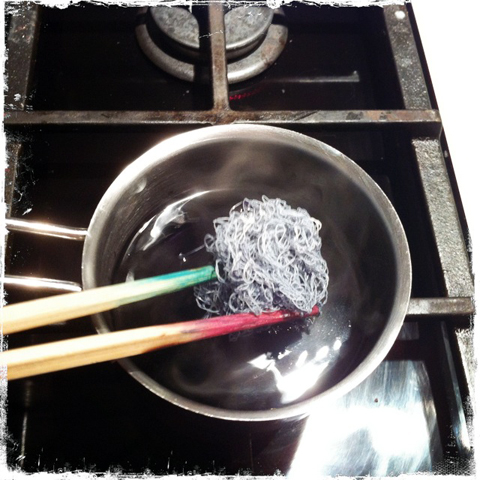
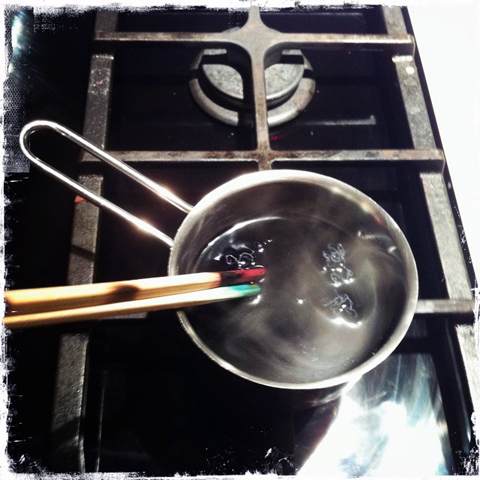
After putting your piece of jewelry/things to dye into the dye bath stir a bit and make sure that everything is covered.
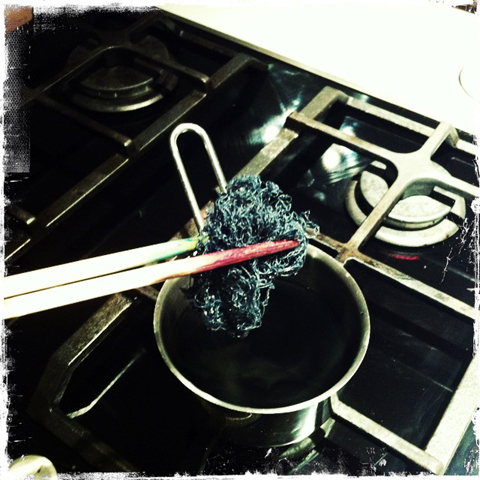
Check on the progress constantly and don’t leave the pot with the dye bath on the stove unattended! If you want to get very dark colors and especially black you can also turn the stove of and leave the paper yarn jewelry / things to dye in the dye bath overnight. All of our black paper yarn jewelry stays in the dye bath for up to three days (reheating the dye bath once a day) to make sure the pieces turn out black and not dark blue.
It’s advised not to leave a cooled dye bath on the stove if you share your kitchen with a boyfriend or your family – it’s not healthy to drink dye! So rather put the cooled pot in a secure spot.
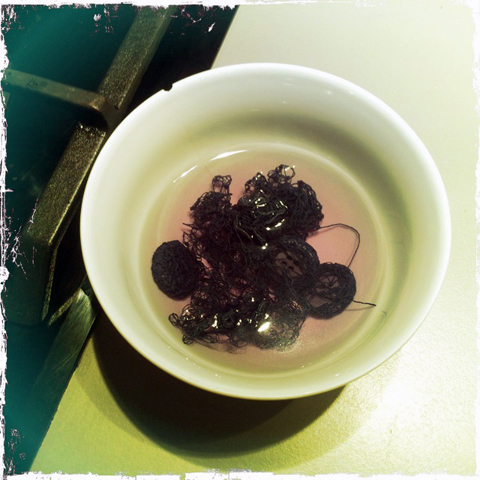
Once the desired color is achieved either put the dyed jewelry into a bowl filled with water (to prevent a further ongoing of the dyeing process) or rush and rinse under the tap. Once in the clear water or rinsed most of the excess dye is cleared away and the dyed pieces might look a lot less “dark/colored” than expected. You can always put them back into the dye bath if desired. Otherwise the real rinsing begins.
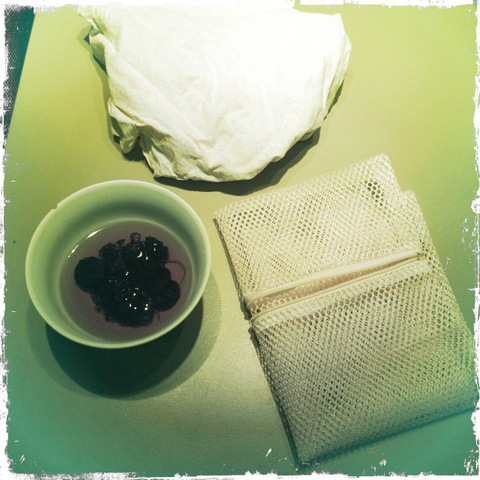
Seen on the picture: dyed paper yarn jewelry, a mesh wash bag and an old cleaning cloth to fill up the mesh bag
The last step of the dyeing process before drying the dyed goods is the rinsing. Or rather: rinsing, rinsing, rinsing, rinsing,… You need to make sure that any excess dye is rinsed out to prevent stains on your clothes in case your paper jewelry/dyed pieces ever get wet. You can either rinse under the tap and continue to do so until you’re absolutely sure that the water that runs off is absolutely clear. The alternative is to rinse the dyed goods in the washing machine (yes, seriously).
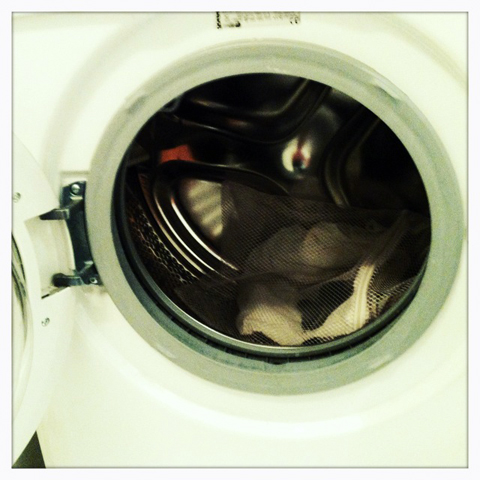
To rinse your dyed goods in the washing machine you need to put them into a mesh wash bag together with an old cleaning cloth or towel (these might get stained) to prevent too much tumbling moving around of the paper yarn pieces in the bag. Put into your washing machine and choose a really gentle cycle – either “delicacies”, “wool” or the “rinse” cycle. Water is not a problem but excessive movement (e.g. spinning) is not good at all.
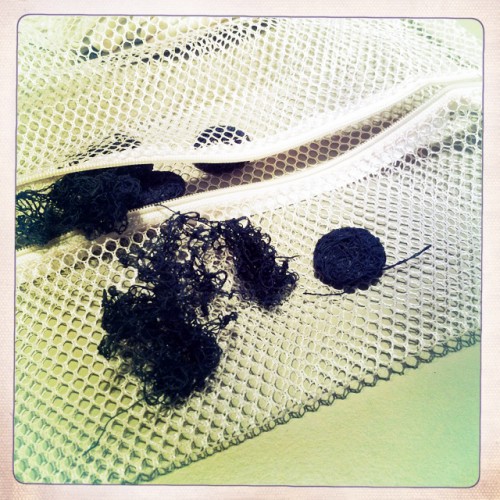
Once the rinsing by hand or in the washing machine is finished let your paper yarn jewelry / dyed pieces dry completely before wearing or finishing them (e.g. mounting on ring bases, adding of latches etc.).
Some more things to know:
If you put loose paper yarn structures (e.g. loose knits) into water they might change their structure because paper yarn will start to slip when it has enough room to move and gets wet. This blog article will clarify this point for you.
To become a professional dyer you’ll need years of experience but to have some fun and get great results all you need is some patience and a will to experiment and adjust the process if necessary. Especially if you’re mixing different colors (only use one brand for this!) to achieve a specific color you might have to experiment a bit more.
This process does NOT work for loose paper yarn. You can’t just put paper yarn into a dye bath because it will start to curl, wrap itself around itself etc. and you’ll end up with a chaotic paper yarn ball (again see his blog post). To dye paper yarn it has to be made into skeins, the skeins have to be put onto a frame to keep them from curling etc. This is the processed used for our dyed / colored strong paper twines.
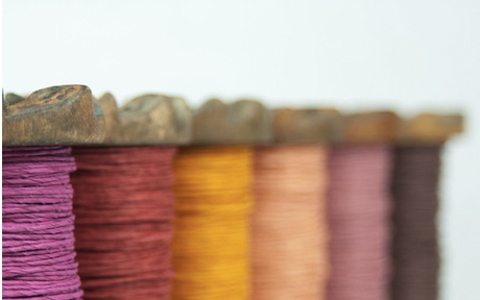
Dyed Strong Paper Twine / Paper Cord – skeins dyed professionally
We hope this DIY tutorial helps with all your smaller dyeing projects – please get in touch if you have any questions about it. Happy crafting!
