DIY & Ideas
Knit & Crochet
Jewelry
Paper Flowers
Baskets
Gift Wrapping
Papermaking & Bookbinding
Weave & Dye
Everything Else
FAQ
Inspiration
ABOUT
About
Interview
Interview – German
Instagram
In Print & Media
IMPRESSUM
Shop
Online Shop
Retailers
Etsy
Contact
CONTACT
WHOLESALE
Newsletter: Sign up
Blog
Deutsch
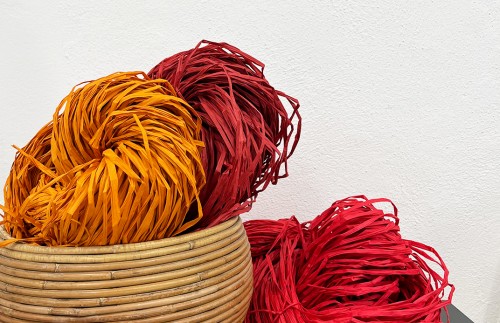
New Paper Raffia: Fiery Red
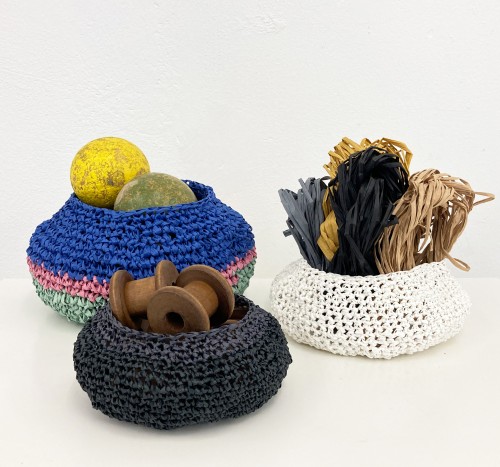
Tutorial: Paper Raffia Crochet Baskets – Pattern
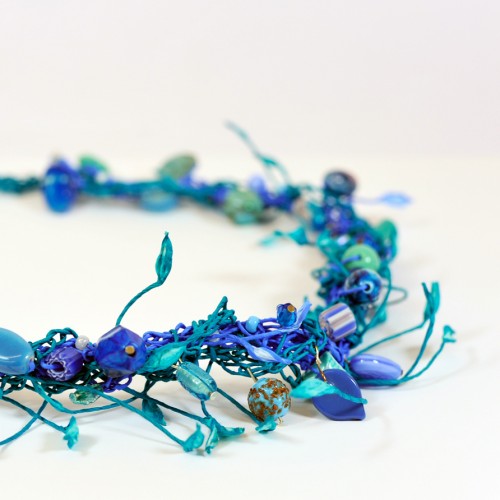
Necklaces by Eva
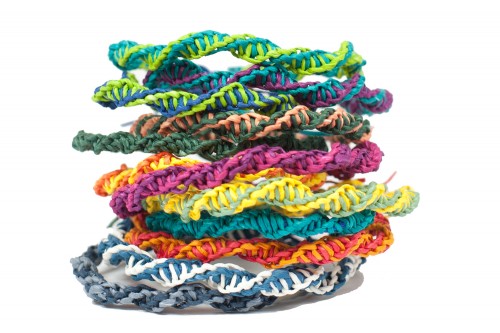
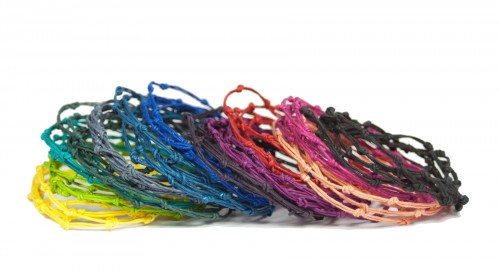
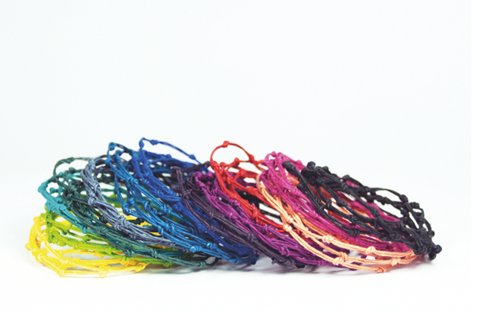
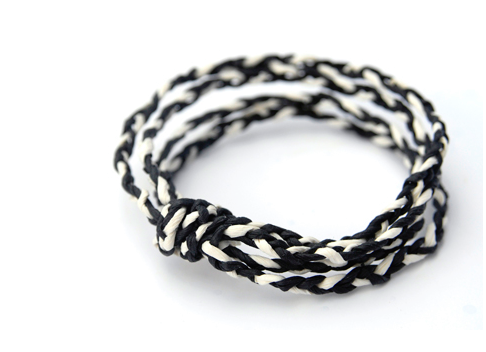
Our New DIY Kit: Friendship Bracelets
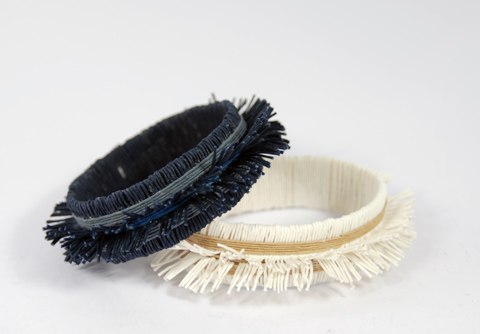
PaperPhine’s KNOT Bangles – Available as DIY Kit
DIY Tutorial: Paper Twine Bangles
More Paper Twine Bangles
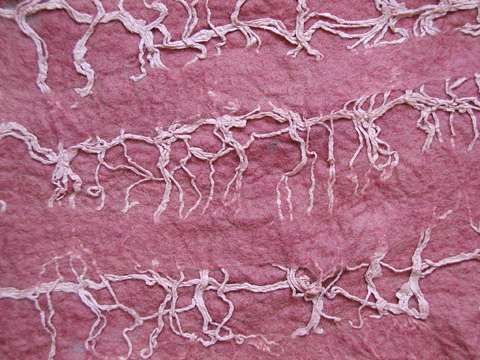
Wool & Paper Yarn: Felt
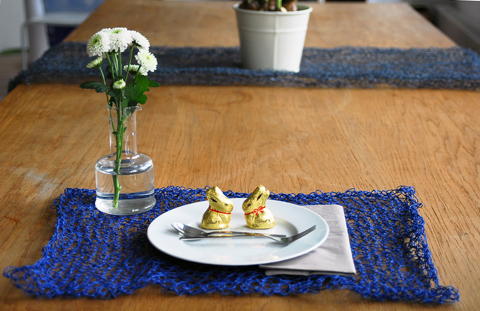
Knitted Paper Twine Place Mats
DIY Kit: Knot Bangles / Necklaces
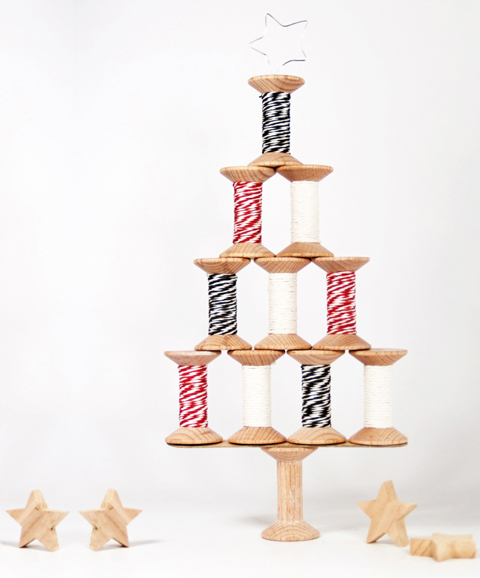
DIY Kit: Paper Twine Christmas Tree
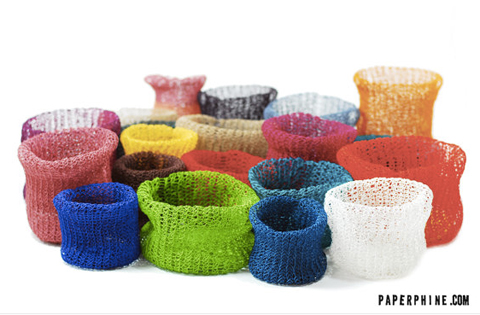
DIY Kits: Paper Twine Knit Baskets
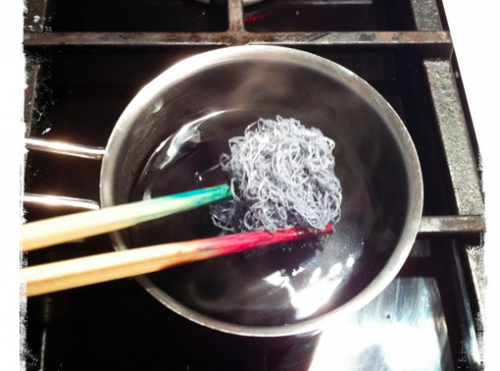
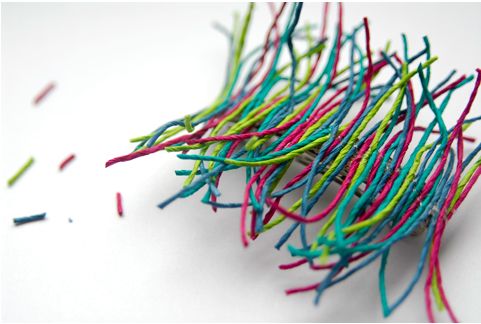
How to dye paper yarn jewelry / DIY
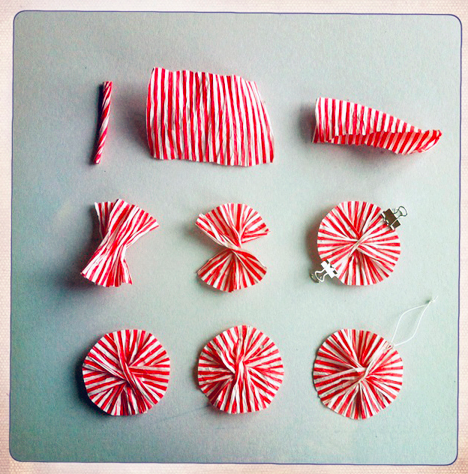
DIY: Paper Twine Circles – Holiday & Party Decoration Tutorial
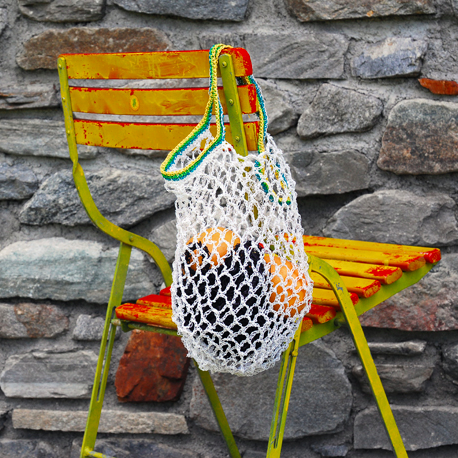
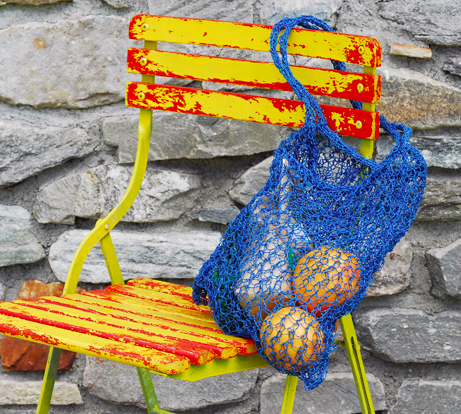
DIY: Crocheted Paper Twine Tote Bag
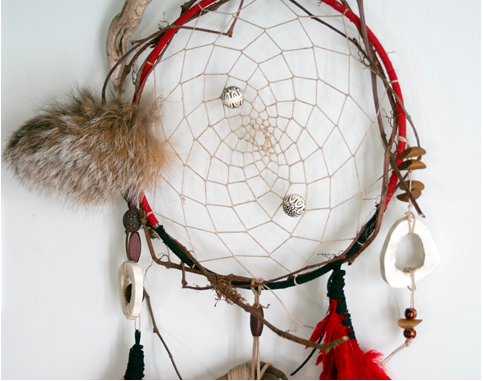
A Dream Catcher by Linda B
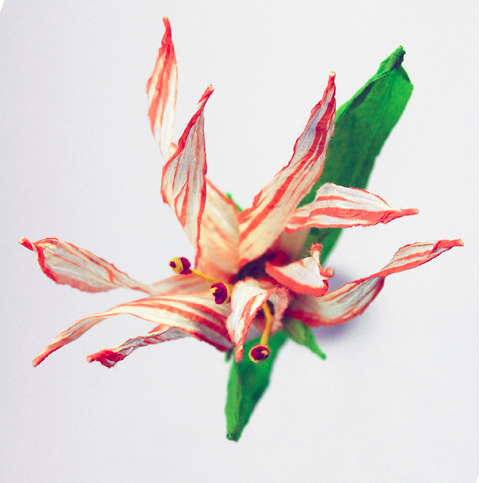
Paper Twine Flower
Knitted Paper Twine Tote Bag
Paper Flower
PaperPhine-Tutorial in the new Paper Runway
DIY Tutorial: Barrette
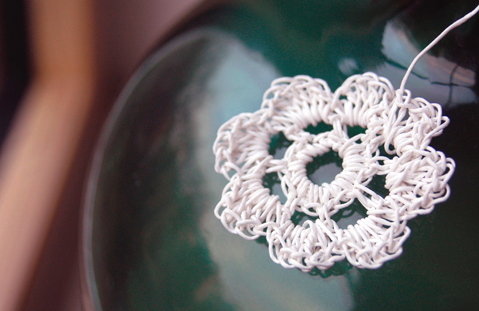
How to Crochet Paper Twine Flowers